
Please click on the gallery title to take you to the gallery page
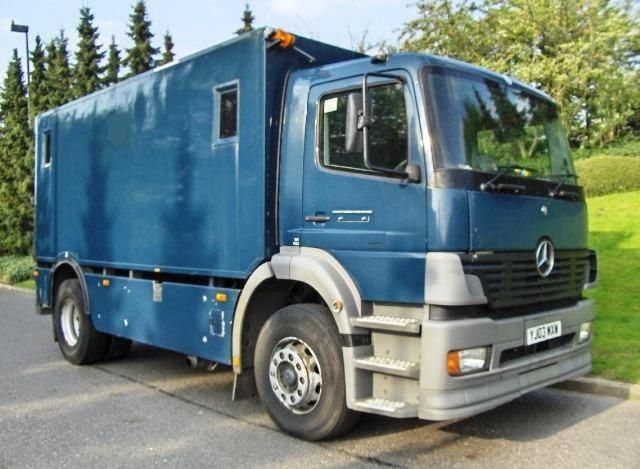
Photos of Jim in the first few months after buying him
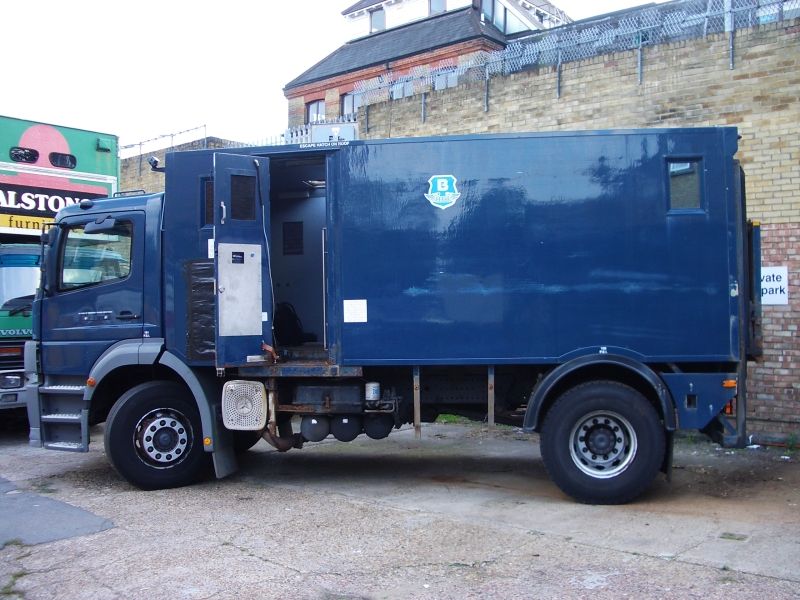
Photos showing the early transition from J118, the Brinks cash-in-transit truck,to Jim, the motorhome

Jim goes to the truck doctor to have window, hatches, skylights and doors fitted
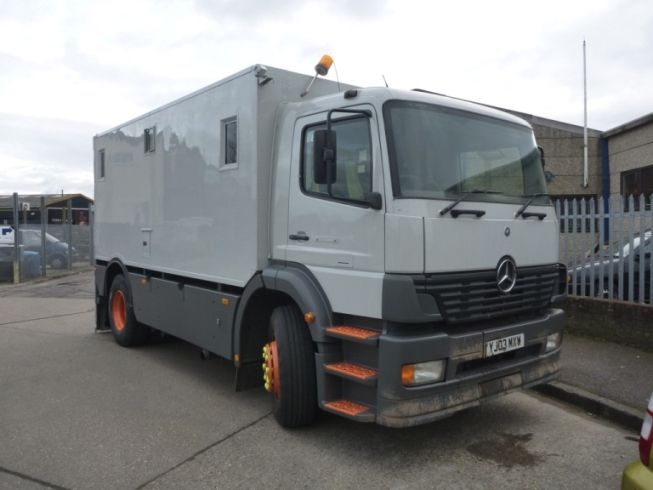
Jim out of his Brinks livery and fresh from a complete respray.

Installing an auxiliary fuel tank to supply the heaters and generator.

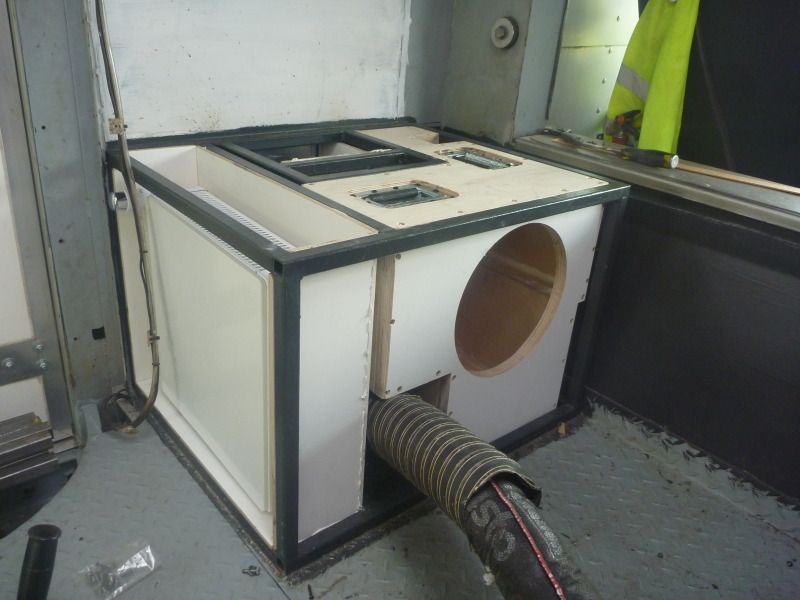
Making
the bathroom enclosure, and installing the toilet, sink, taps, shower,
shower tray, skylight, radiator, lighting and ventilation fan
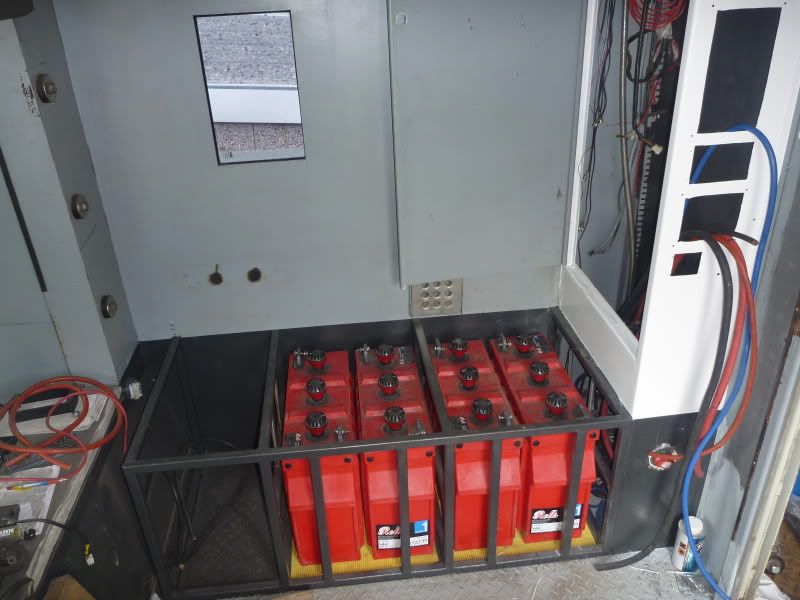
Electrical Installation
Various stages of the electrical installation; including the batteries, chargers, cabling, etc
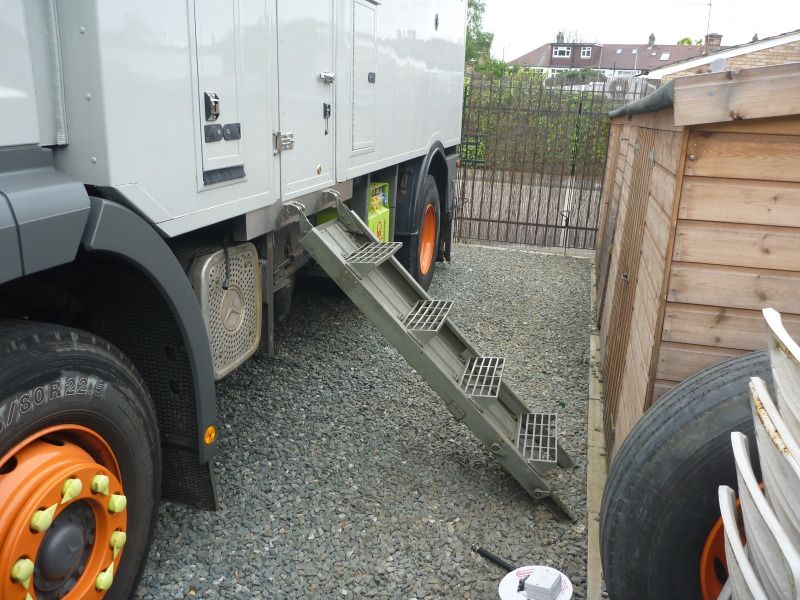
Installing the brackets to use the standard army entry steps on my non-army truck. Fabricating and installing the brackets on the tail-lift to store the steps when travelling
Building the nearside bench seat, and installing all of the equipment contained within it.

Finishing the offside bench seat, and installing the inverter and sub amplifier inside.

Building a cabinet to create storage over the nearside bench seat. The cabinet tidies up the CCTV monitor, and holds the radio/CD player

With the bench seats and overhead cabinet built and fitted, it was time to clad the walls and tidy everything up.

Cladding the side door and fitting insulation.

Installation of the roof rack, awning, solar panels and decking

Turning the empty space at the back of the truck into a bedroom, complete with down lights, a radiator, storage cabinets and a 450 litre water tank.

Fitting storage drawers between the bedroom and bathroom, and fitting an air conditioner at the bottom.

Fitting the Webasto Thermo Top water heater into the recess infront of the entrance step.

Fitting a cabinet behind the gas locker door, to seal the gas cylinder from the inside of the truck.

Just when I though I was supposed to be filling holes rather than making more, I cut two big vents to let the heat out from behind the fridge

Fitting the last major piece of furniture into the truck, the kitchen. Also housing the water pump, water filter, accumulator tanks, and calorifier.

After having the awning fixed in place many month previously by Brownchurch, I finally got round to fitting the mounts for the storm bars, cutting the bars to length, and adjusting the angle or the canvas.

Water Tanks
Installing the freshwater and greywater tanks, including dump valves and level senders.

Installing a plastic laminate flooring to cover up the steel treadplate.

All of the soft and fiddly things which I did not have the time or the skills to make.
No comments:
Post a Comment